
Scanning micro fiches
While repairing PDP-11's, I often suffered from missing documentation. Especially the program listings of the "XXDP" diagnostics were not found on the web.
On the other hand, some guys I know had boxes full of DEC micro fiches. It took a while before I realized that all documentation was already at my finger tips.

To read those fiches you need an old micro fiche reader (easy to get). Much better is access to a micro fiche scanner to make PDFs out of them, so you can share them with others. Getting access to a high-volume scanner proved to be almost impossible, so I decided to build my own.
DEC's micro fiche document system
- Details
- Written by: Administrator
- Parent Category: Projects
- Category: Scanning micro fiches
"Micro fiche" is one form of film based document archival and distribution system (see "Microform" on Wikipedia).
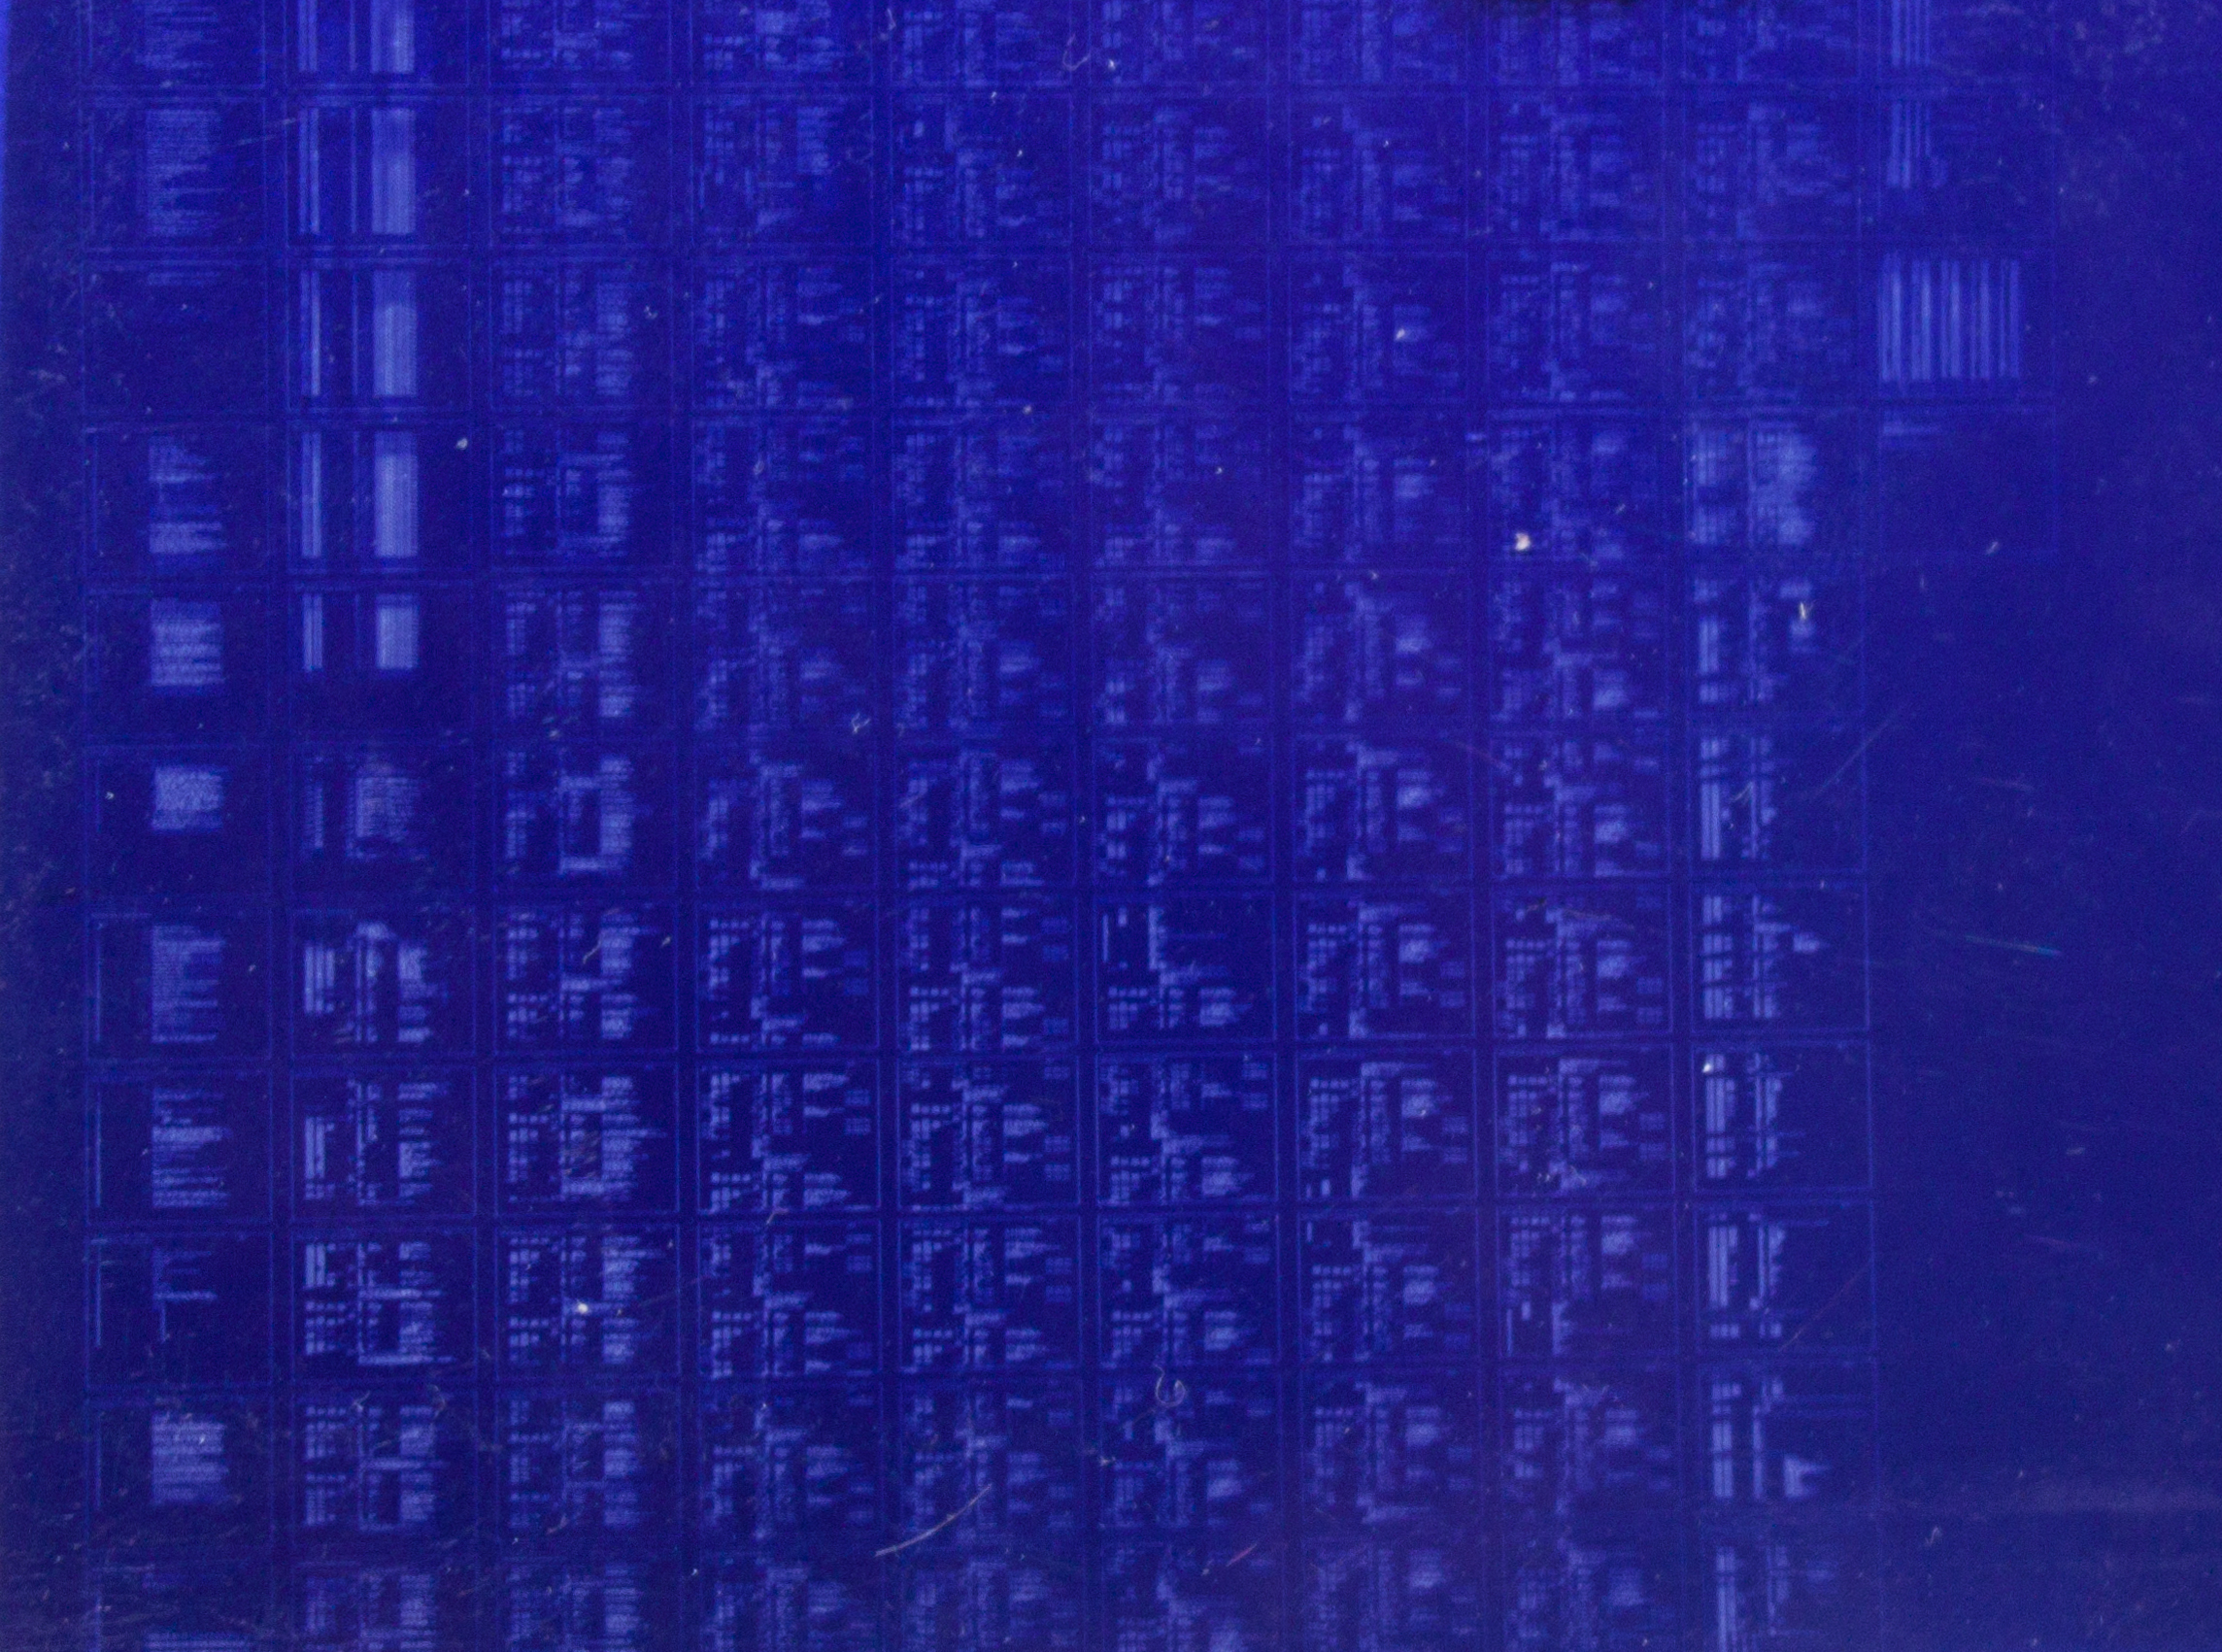
Document pages were transferred to 105 x 148 mm sheets of high resolution film. A single sheet can contain up to 13 x 16 = 208 pages. And it has a wonderful blue background color! (Find a desktop wallpaper in the attachement)

Micro fiches in the field
As all major companies, DEC had established an organization to distribute and update newest fiches to its field service departments world wide.
As a former field service engineer (FSE) told me: "Every week new fiches arrived, updating our local library was a permanent job. To be honest, fiches for devices not beeing serviced in our area were simply thrown away..."
Several types of documents were include, all color coded in the title strip of a fiche:
- Hardware manuals,
- Software manuals,
- Electronic and mechanical schematics,
- Listings of diagnostics programms,
- Field change orders (FCO's, hardware bug fixes)
- Indexes for hardware options, software and documents.
DEC's use of micro fiches is explained in the "Micro Fiche User Guide", see attachement.
Micro fiches can carry a lot of information on minimal space. A FSE could carry all needed docs in one single "library" box.


Such a box could contain 1000 fiches, with a total of over 100.000 document pages. Today a scanned document page can be saved in about 100K, so such a box is worth 10GB of information. (Remember: In the early 1980's, a 400MB hard disk had a mass of more than 80kg!)
Reading fiches
Micro film readers are special forms of slide projectors. In the field, FSE's had mobile readers. They look a bit like a modern notebook and could be operated with line power or with a 12V car battery. And even a fiche box fits inside.

Access to documents on these readers was very quick: Fetching a fiche out of the library box was as easy as locating it in the big directory trees on your hard disk.
The fiche was inserted then between two glass plates. You'd browse the pages by moving the fiche carrier in two dimensions. Page access is indeed much faster than browsing PDFs wich your "Acrobat" or "Foxit" PDF reader!

Major drawbacks of micro fiches were: you had to distribute them physical, you could not easily print, you only could distribute black&white documents, you could not search for text, you couldn't copy ...
So with appearance of Internet for every body, fast notebooks and big hard disks, micro fiches died out.
fiche_wallpaper.jpg -- \\\"micro fiche\\\" desktop wallpaper
The homebuild automatic micro fiche scanner
- Details
- Written by: Administrator
- Parent Category: Projects
- Category: Scanning micro fiches
Why scan micro fiches?

When working with vintage computer systems, you absolutely need lot of ancient documentation. Luckily people are scanning these old docs like crazy, the big archive site "bitsavers.org" is well filled ... especially with DEC stuff.
DEC distributed end user documentation primary on paper. Even most of the micro fiche documents are print-outs which have been transferred to film. So if you find a micro fiche, its content is likely already digitized somewhere. But there are exceptions.
When you repair PDP-11's you need to run the "XXDP" diagnostics programs. These program come with almost no user interface, and error printout is cryptic. Documentation is only found in the MACRO-11 assembler listings of those diagnostics. And so far as I know, these listings were distributed only as micro fiches.
XXDP!
After I fixed a pile of PDP-11/34's without proper XXDP documentation, I asked around for XXDP program listings. They already were in different collections around me, but only as micro fiches. I could've read them on a classic micro fiche reader, but I decided to start a digitizing project (to give something back to bitsavers.org).
I planned for a fiche volume of 400 fiches, containing about 50.000 document pages ("frames"). Scanning these proved to be impossible first:
- You can not scan fiches on a flat bed scanner. Even at 4800dpi, resolution is not sufficient.
- You can not give the fiches to a commercial scan service, costs will kill you.
- Interestingly, the nearby University of Göttingen operates public micro fiche scanners! But you have to manually adjust each single document frame on a fiche. And scanning one frame lasts almost a minute.
- You can not buy an automatic micro fiche scanner: they are very very expensive.
Because of all these difficulties, I decided to build an own scanner. Participation on the "DEC micro fiche untderground" forum showed that this would fill a gap. And I got much support from the guys of my computer club C-C-G.
Conclusion
I did no tests with a flatbed scanner, as I rated image to be most important.
My scanning rig is slow, but sharp, and generates separated pages in unattended mode.
Video of the current scanner
This is the 2nd scanner I build, in 2021. In contrast to the first one it's much faster (6 seconds per frame) and much smaller ... only the size of an 3D printer.
Its function and the full workflow is shown here in detail:
My first scanner
This one was build in 2014. See it here at work:
The design
To be usable, the micro fiche scanner should fulfill these criteria:
- image quality: scan resolution should be higher than the resolution of the film itself, else there may be loss of information
- fully automated movement of the fiche, so all document page frames can be scanned unattended. The only manual operation should be the changing of the fiches.
- The resulting document should have the format and the quality to be recognizable by OCR.
Components of the scanning rig are:
- A modified AGFA GEVAERT COPEX LP4 micro fiche reader. Not all readers show a good picture, but this one is fine.
- The screen of the Agfa reader is photographed with a good digital camera. I used a Canon EOS 500D DSLR with 16MPixel resolution.
- As DSLR optic a 100mm lens with fixed-focale length is used ("CANON MACRO LENS EF 100mm 1:2,8 USM"). Distance to screen is about 2 meters. Use a tele-range lens, else the screen images may get warped. And don't use a zoom! These have too many glass elements inside, impacting picture quality.
- The fiche carrier of the Agfa reader is moved by an "ISEL" industrial CNC x/y positioner with stepper motors (Thanks, Thomas!) The positioner is controller over RS232 in a propietary protocol.
- A PC computer controls the positioner, triggers the DSLR and reads back the image and archives them. Any model with one RS232 and two USB 2.0 ports is usable.
- Pictures from the DSLR are read to PC over USB cable with CANON's "EOSUtility" software.
- The DSLR is triggered with an USB relay connected to the remote-trigger-cable-input.
- The DSLR has an external power supply.
- Central component is the specialized control program, which calibrates and moves the CNC positioner and operates the DSLR.
- The raw photographed images must be processed by a chain of filters to yield OCRable black&white pages in a PDF document.
What I learned
I learned much while getting the assembly to work.
* Mechnical tolerances of the carrier mover can not be build exact enough. So while moving the carrier, an overshoot is build in.
* For automatic location of the frames on a fiche manual calibration is necessary: In fact a translation between the stepper coordinate system and the logical fiche-grid-system must be calculated. The software let you move the fiche carrier with cursor keys. For calibration, 4 frames on the fiches must be exactly positioned, then the position of those reference frames on the fiche must be given.
* The scanning room must be dark, else the image contrast is too bad.
* On the images, the screen area most be surrounded by an uniform black border, which can be cropped off automatically. Therefore a bezel must be attached to the reader to let it appear wider, and the visible parts of the reader must be painted black.
* The sharpness of scanned images is limited by the grain of the film and the reader's diffusing screen. Sharpness results from 4 sources:
- The projected fiche image on the reader screen must be controlled/adjusted after each fiche.
- After the focus of the DSLR camera is adjusted to the screen, disable the auto-focus. Smallest ISO value must be used (ISO 100), else color noise will appear. The 100mm lens has best quality at a middle aperture of f=10.
- The fiche must placed absolutely flat into the carrier. I used tape strips as adjustment marks, the fiche projections gets unsharp if even one side of the fiche is on the strip, and not between the strips.
- The settings of the DSLR results in a shutter speed of 3 seconds. Moving the heavy CNC positioner causes vibrations in the whole assembly, so after carrier movement a delay of 5 seconds is used to let things come to rest.
* The controller software must also organize the filing of the resulting images. Directories must be created, meta-information must be gathered. The data on the title strip are to be saved for each fiche.
* A lot of final speed and quality depends on the user interface of the controller software. Especially typing in the info from the fiche title strips was more difficult than expected: The codes are cryptic, the room is dark, and the font size may be very small.
* The "Isel" CNC positioner makes a very loud and annoying noise. It must be isolated from the floor, else other people in the same house will complain.
* Use of a DSLR as scanning element puts quite some stress onto the camera. An EOS 500d is rated to do 70.000 exposures, and in fact my one died after 40.000 scans ... just in specs. A used 500d may cost 200€ and may have 50.000 exposures left,, so for 1 € you get 250 exposures ... about the size of a fully occupied fiche.
Why not using a regular flatbed scanner?
The web is full of discussions about scanning micro fiches with a flat bed scanner.
Some people claim it to work perfect, other laugh at the idea (me included).
Resolution:
It all depends on the scanning resolution. What is needed?
Some calculation: A XXDP program listing page on a DEC fiche is about 6mm width.
DEC imaged 132 column fanfold printouts here, so one character is 6/132 mm = 45µm width.
If they printed it with a dotmatrix, a char had 6 printer pixels (quality is usually much better). Lets say we need 12 scan dots to image the character, so we need to scan at
45µm/12 = about 4µ. The Nyquist sampling theorem requires double scanning frequency, so we need to scan at least with 2µ resolution.
That's 25.6 / 0.002 = 12800 bpi.
So a flatbed scanner with 9600 TRUE optical resolution in both direction should ALMOST do it. But this gives blurry letter shapes.
In 2020 for example the Epson Perfection V600 is rated to have true 9600 bpi, tests just mention 6400. And the true optical resolution of a CanoScan9000f with "9600 bpi" was testet to be only 1200 dpi.
And we know: if something is working almost in an ideal world, it will never do in real world. We really need extra resolution to compensate mechanical tolerances, sharpness problems, or marketing hype.
Its clear that a flatbed scanner with - say - 2400 bpi can be used on fiches with bigger characters. That explains positive results of some web reports: these guys had bigger text on their fiches.
In contrast:
Taking a photographic picture of a 6mm microfiche page with a DLSR with - say - 4000 pixels horizontally gives 6mm/4000 = 1.5µ per sensor pixel, with 30 pixels per letter. This is about 17000 bpi.
Speed
Flatbed scanners are slow, but they can take a image of the whole fiche. The said Epson Perfection V600 was tested to need about 6 minutes at 6400 bpi (which is much too bad for DEC fiches). Lets kindly assume this was for A4, so we have about 2 minutes for a whole fiche. Compared to my solution, this is lightening fast!
Post processing
While flat bed scanner tooks a fast picture of the whole fiche, you need to separate the fiche into pages. This'd need extra manual/automatic processing steps.
The problem here is the size of the image to be processed: a fiche is about 145 x 105 mm. Scanned with 9600 bpi this is about 54000 * 39000 pixels! Processing an image with > 2GPixel in size WILL need specialized software and even in 2020 lots of processing time. This compensates for the primary scanning speed.
In contrast, my scanning rig generates pictures of separated document pages in a rate of about 15 seconds per page, no separation needed then.
Project summary:
All in all I operated the 2014 scanner for 8 weeks. I scanned 428 fiches with 53545 pages, so the typical fiche has 125 frames, and is filled to 60%. The sum of all raw image sizes is 227 GB. Scan speed is 15 seconds per frame. I work in a home office and could digitize about 10 fiches per day parallel to my regular work.
With the new 2021 Scanner I scanned 900 fiches with 96000 frames in 5 weeks, until now. Still working!
Micro fiches - a closer look
- Details
- Written by: Administrator
- Parent Category: Projects
- Category: Scanning micro fiches
Quality of the scanner
I tried hard to make the scanned images as good as possible. Resolution limit should be the quality of the fiches itself, not any property of my scanning rig.
Here is a typical image of a single fiche frame, as photographed from the readers screen with the DSLR:

Normally the scan quality is very good:
|
good and blue |
good and green |


Galerie of flaws
However, often the quality of the fiches itself was problematic. Problems can occur on every stage in a fiches live:
- the original document is ill formatted
- the original printout is bad
- the printout is not correctly transferred to the fiche
- the fiche is over or underexposured
- the fiche film itself is varying in color and base brightness
- the fiche is damaged while in use
- the fiche disintegrates while in collectors stock for years.
See here some typical flaws:
|
Decay |
User: physical damages |
|
Film: too bright |
Film: totally over-exposured |
|
Film: too dark |
Film: much too dark |
|
Printer: original from teletype? |
Printer: out of ink? |
|
Production: dirty original |
Production: strange noise |
|
Bad resolution for schematics |
Use: scratches |


After raw scan, the images are run through a processing chain of image filters. These filter must be intelligent enough to handle all the various anomalies shown above!
Micro fiches - post processing
- Details
- Written by: Administrator
- Parent Category: Projects
- Category: Scanning micro fiches
There's still a long way from the fiche reader screen shots to a small, multipage PDF document which is good enough to apply OCR.
I spent more time developing the image processing than building the scanner and scanning the fiches.
The "FilterChain" program
After experiments with Photoshop and other image processing tools, I decide to write an own program to process my fiche images. I called it "FilterChain". It is a Windows program, written in Delphi.

"FilterChain" applies a sequence of selected processing filters onto an input file. It integrates the best filters from these sources: commercial ImageEn library, free ImageMagick, tesseract-ocr, and self written goodies. It has a batch mode and diagnostic features useful for filter development.
The processing chain
In theory, procssing the images should be quite easy: cut off the border, invert, automatic contrast adjustment ... that's it. But remember the "gallery of flaws?" The worst 5% of these images cause 95% of all the post-processing effort (and the worst 0.1% added another 95% !)
After numerous try-and-error runs, FilterChain now applies these filters onto a raw fiche reader screen photo:

1. "Cropping": A part of the micro fiche reader appears on each image. This must be cropped off, so only an image of the readers screen remains. Since the reader has been painted black in those areas, automatic cropping the border off is easy.

After this processing step, images have a resolution of about 3600x2800 pixels. Image dimension remain unchanged by all further processing steps. If the original prinouts were on 15" width sheets, the image resolution is about 200dpi.
2. The resulting color image is converted to gray levels:

3. The lighting levels of the reader screen are not uniform, the image is darker in the edges. This is corrected by subtracting the image of an empty fiche from the fiche in process. Brightness of the subtracted background image is adjusted, so that the background color of the resulting image is (almost) a pure black:

4. Brightness of the document text may still have different levels at different places in the page (remember the "gallery of flaws"?) To equalize:
- the image is separated into tiles;
- for each tile the brightness of the foreground text is calcuated. Text is judged with a mix of histogram logic and OCR runs, to separate true text from other structures;
- brightness for each tile is individually adjusted, so finally all tiles have the same brightness for text structures.

5. The image is inverted, so now text is black and background is white.

Now the scans have optimal quality. Images have still 256 gray levels and format is still JPG. This makes the final PDFs very big, and OCR is difficult.
6. The images from this processing step are packed into PDFs with "Adobe Acrobat XI". Documents with more than 208 pages are originally split over several fiches, these are gathered into one single PDF. So from 432 fiches 330 PDFs result. The PDF document names are generated from the meta-data sampled while scanning the fiches. Example: The fiche title
is saved as file "AH-E122A-MC__PDP-11__DIAGNOSTIC_USER_GUIDE__CZUGAA0__(C)1978.pdf"
There are other tools to pack images to PDFs. Adobe Acrobat has good optimizations build-in, to reduce file size and enhance image quality.
7. The resulting gray level image is converted to 1 bit black & white. This is done by applying a "threshold" brightness. All pixels darker than the threshold become black, all pixels brighter than the threshold go white. Choice of the treshold impacts the shape of the letters: A lower threshold produces darker (and fatter) letters, a higher threshold results in thinner letter shapes. Normally, a fixed threshold of 128 is used which is just in the middle of a 256 gray level range.

But the document quality can be optimized by finding the optimal threshold (Some image processing tools like Photoshop have a nice slider for threshold adjustment). Target is to produce letter shapes recognizable by OCR. So for automatic optimization the threshold is regulated over a feedback loop with an in-place OCR module (tesseract again). Tesseract produces not only the recognized text, but also the quality of each recognized letter. Threshold is now regulated in a way to maximize the overall OCR quality. The recognized text is ignored, because even at best threshold it is almost unusable.
Since the image is always inhomogenous, the threshold is calculated for different tiles of the images


The OCR feedback loop for threshold gives optimal letter shapes, which turn out to be quite "light". It needs an incredible amount of processor power. To reach the optimal threshold, about 20 iteration steps are required, so for each of the 50.000+ fiches 20 OCR operations are performed ... this project is a million page OCR! And tesseract OCR is quite slow, because it is fed with tons of semi-random graylevel images.
8. Finally, the thresholded version of the images is packed to PDFs again like in step 6. Now we have an "original" version in gray levels, and a small, OCRable version in black & white. Both should be archived.

9. The resulting PDFs are copied to a public server, and proud announcement to the retrocomputing community is released ...
Running the filters
Because the filter chain is so elaborate and so slow, processing of all 50.000 images would take several months (imagine the shock when I first calculated that number!)

Luckily I have five PCs here around: my desktop, my notebook, a test machine for my job, another desktop in my electronic lab, and the controller for the automatic fiche scanner rig. I managed to write a special software (called "BatchConverter") which can run many filter chains in parallel:
- one BatchConverter can run multiple threads on one machine,
- multiple BatchConverters can run on different PC's, sharing work by using a system of lock files on a central network file system.
This way I could calculate the filter chain on all 20 processor cores, reducing processing time down to 10-12 days.
Running this massive parallel task was very cool at the beginning, but quickly got boring ... and it's still running while I'm writing this ...
Downloading DEC PDP-11 XXDP listing scans
- Details
- Written by: Administrator
- Parent Category: Projects
- Category: Scanning micro fiches
As said on previous pages, I digitized 330 PDP-11 XXDP assembler listings, with a total of 53545 document pages. Almost all of them are new stuff, which was not available on the internet before.
The scans come in two versions: "high quality" and "black&white":
High quality
The HQ version is gray level and contains a true image of the micro fiches, after non-destructive contrast enhancement. It is the base for further image processing.
B&W
The B&W version is compressed to black & white and aggressively optimized for size and letter quality. File sizes are 20x smaller than the HQ version. Its intended for daily use and OCR, but for some very problematic fiches textual information is lost.
Links
The Blac&White versions are here at bitsavers.
Both the HQ and the BW versions are also accessible over my "PDP-11 diagnostic database".
Use this page, then goto to the "Module Index" and search the diagnostic code in your browser. The further link will lead to all files for this diagnostic.
Or read here a case study "how to use the database" for further details.